It’s my desire to be a resource to others learning photography. I was recently reading through Austin Kleon‘s book entitled Show Your Work and that’s exactly what I intend to do, start a series where I show you how I do what I do.
In the book he quotes Annie Dillard who says, “The impulse to keep to yourself what you have learned is not only shameful, it is destructive. Anything you do not give freely and abundantly becomes lost to you. You open your safe and find ashes.” That shot right through me and I decided that I would begin showing my work, sharing my process, and teaching what I know. And here’s why: we hang on to what we know out of fear. Fear that we are giving away our progress which separates us creatively from others, fear that others will become better than us, fear that we won’t be able to create anything else that will make people notice. However, I don’t believe we push ourselves to learn new ways of doing things unless we completely empty the tools we have become used to out of our bag, freely share those tools with others, and go in search of new tools.
So, here’s me emptying my bag of tools in hopes that others will pick them up, learn how to use them, and create beautiful and dare I say even better work!
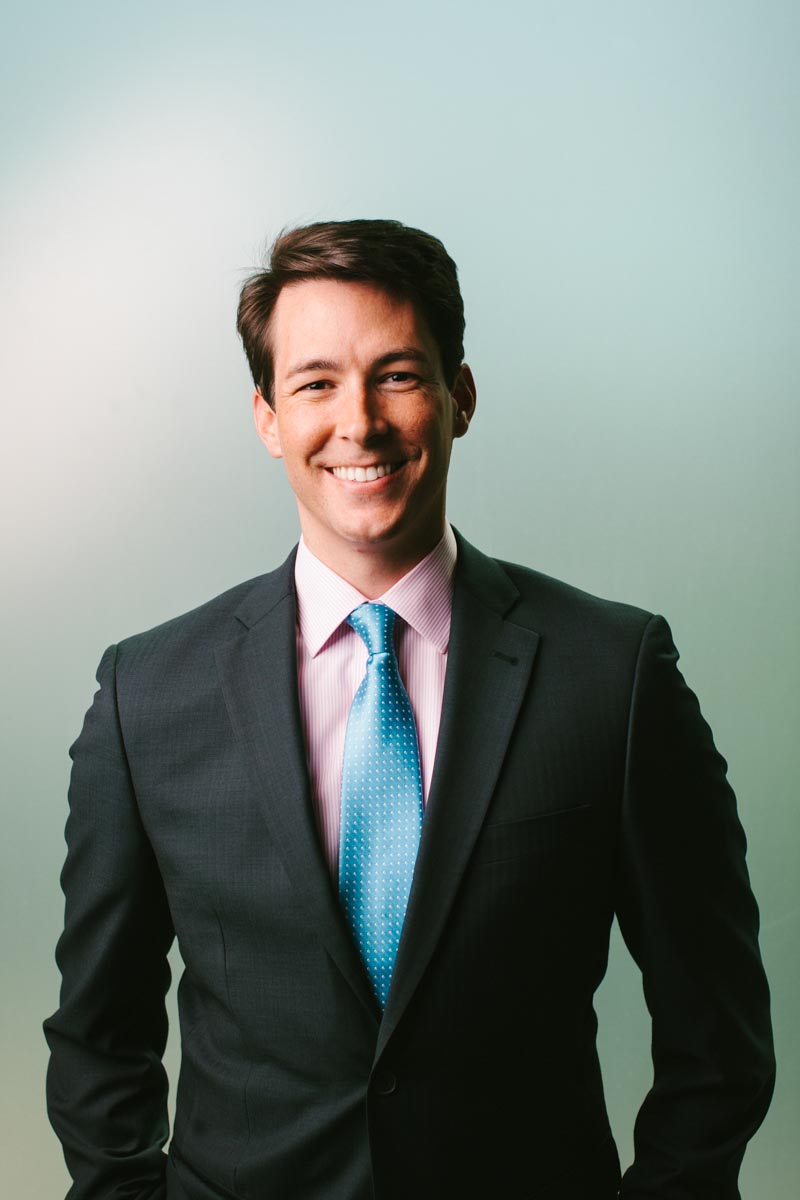
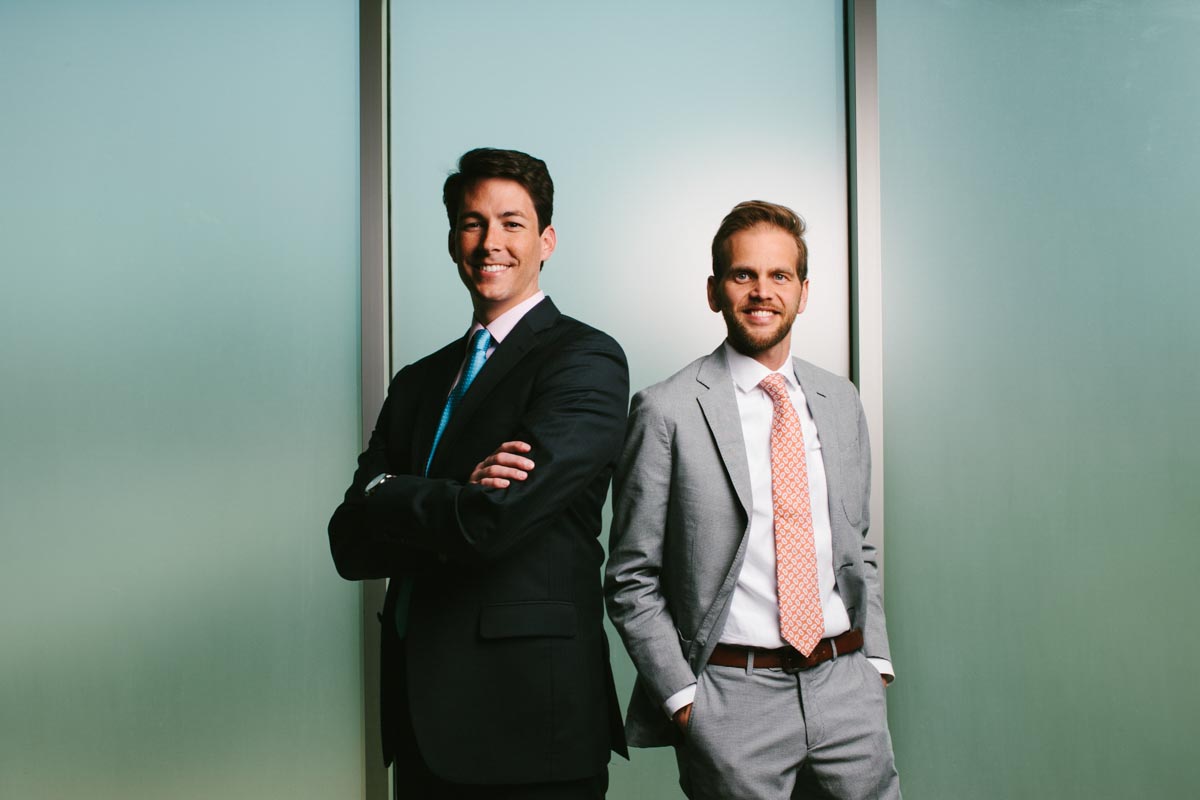
I was recently hired for a corporate headshot shoot and was given the direction of wanting to hit somewhere between Mad Men and GQ. In order to accomplish this, I knew we would want a modern yet sleek corporate look and so we headed to the Buckhead area of Atlanta, GA. Thankfully my clients had a great connection with a friend with an 8th story condo and that was our location. I’ll walk you through my process of seeing the location for the first time, composing the image, lighting my subject, and then showing the final product.
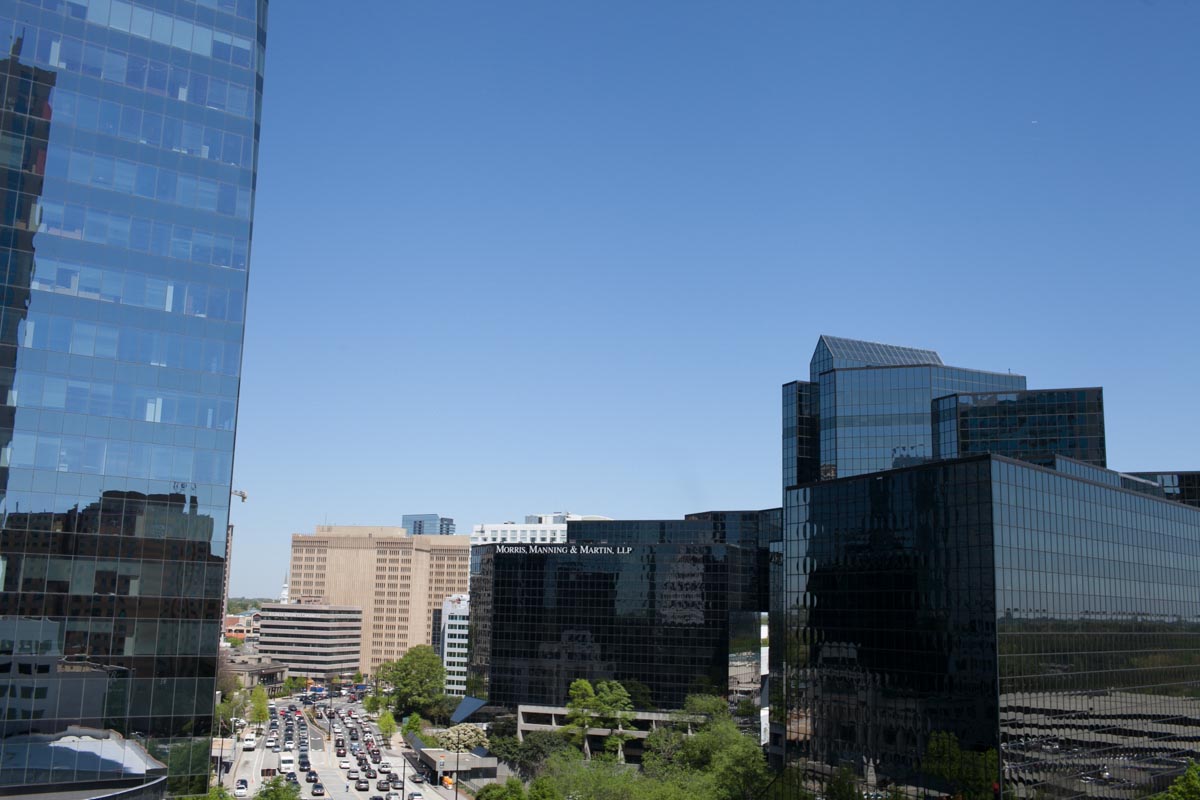
First off, I walked in to the condo and straight for the balcony since I knew that the skyline would be our backdrop and here’s what I saw. I went ahead and locked my ambient exposure for what I desired.
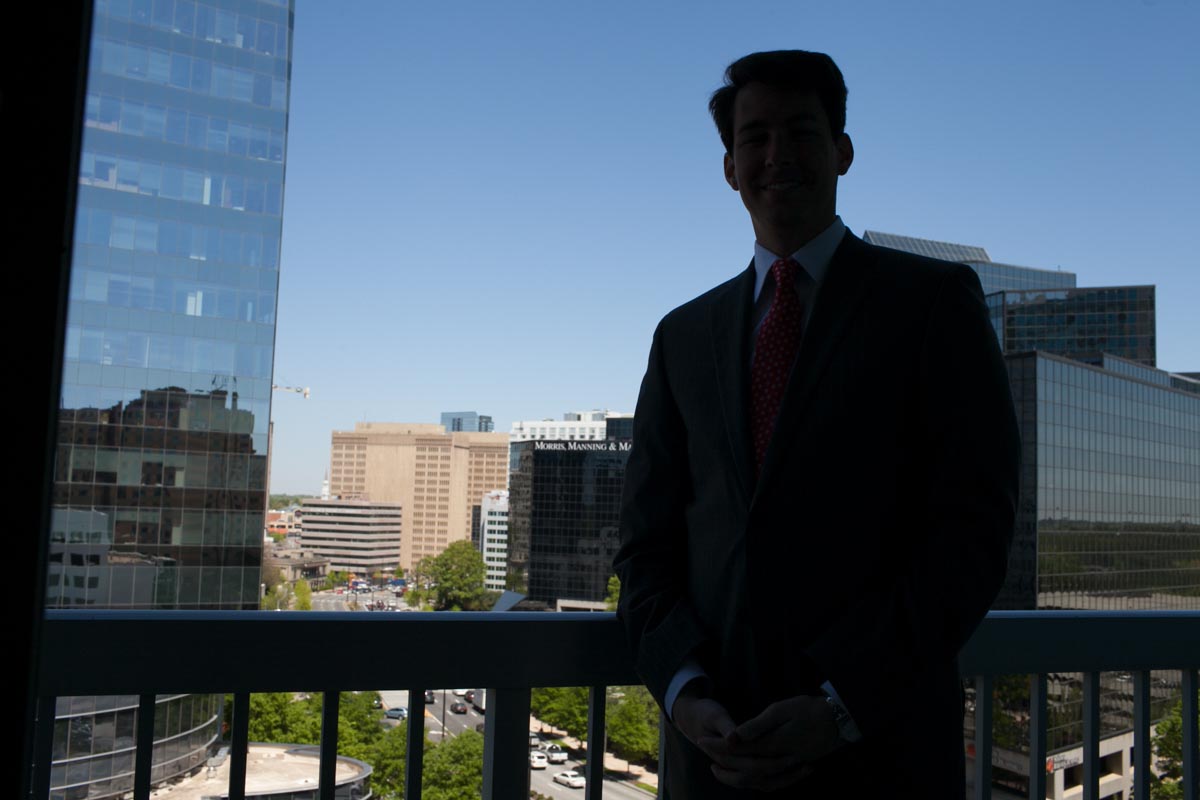
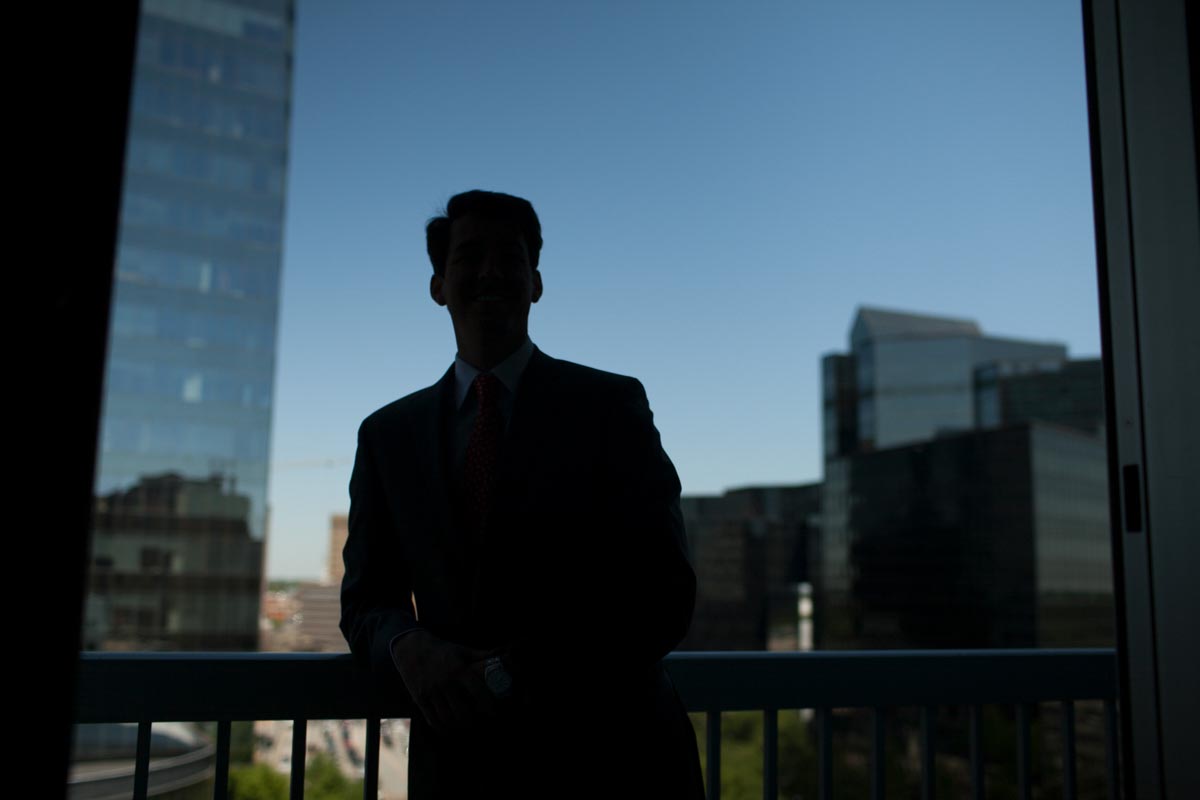
Next, I placed the client in the frame to compose my shot. I also wanted to make sure that he would be underexposed so that my strobe would be the main source of light for him. Here’s what that shot looked like.
I then turned on my Alien Bee 800 strobe with a Paul C. Buff Octobox modifier and adjusted the power until I had a proper exposure.
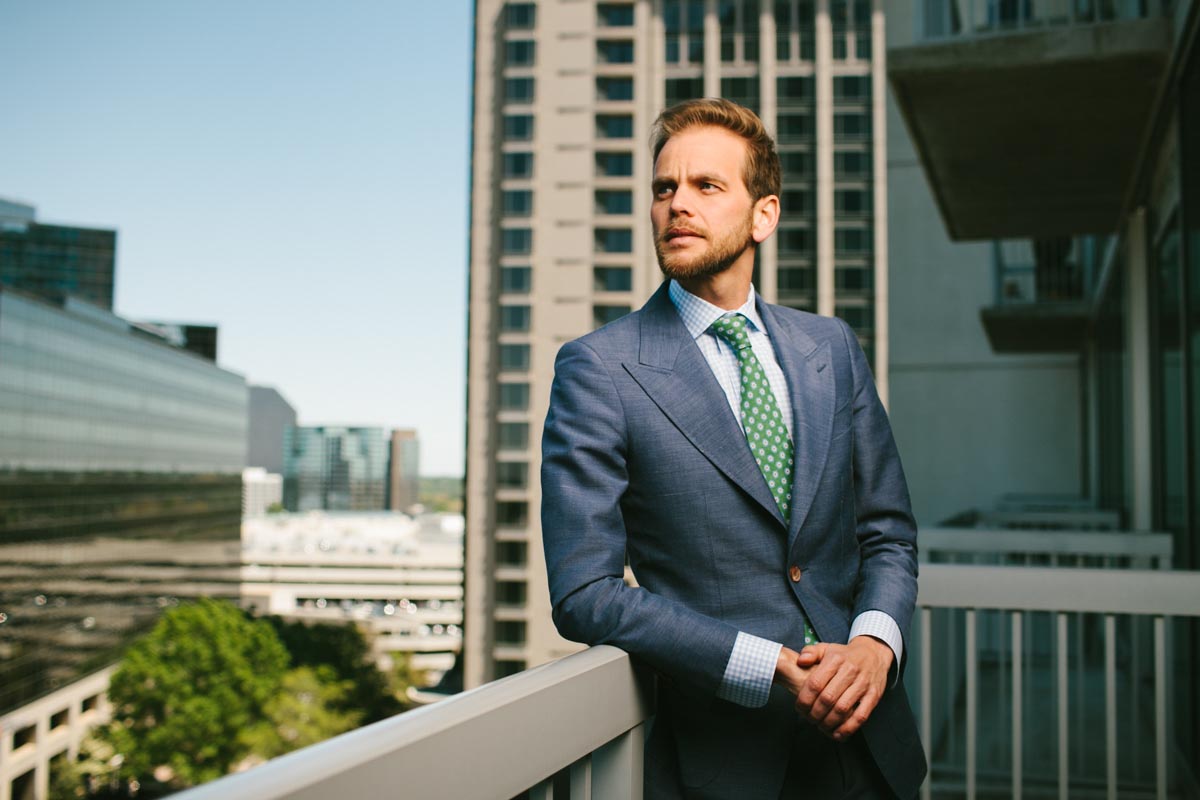
While I liked how the scene was lit, I still felt as though my client was not separated enough from the scene. So, I pulled out my promaster 72mm variable nd filter. This is basically like putting sunglasses over your lens. By having a properly exposed scene, and knowing that I wanted to separate my client from the background by opening up my aperture by 3 stops, my only option was to place the filter over my lens and decrease my exposure by 3 stops of light. This allowed me to go from having a properly exposed image at F8 to a properly exposed image at F2.8.
I turned my strobe off and with my nd filter on and decreasing the scene by 3 stops of light, I took one more shot to make sure I was getting the separation by depth of field that I desired. With everything set, this meant all I had to do was turn the strobe back on and I would get the exact same exposure as I did in the above photo but now shot at F2.8 providing the separation that I desired.
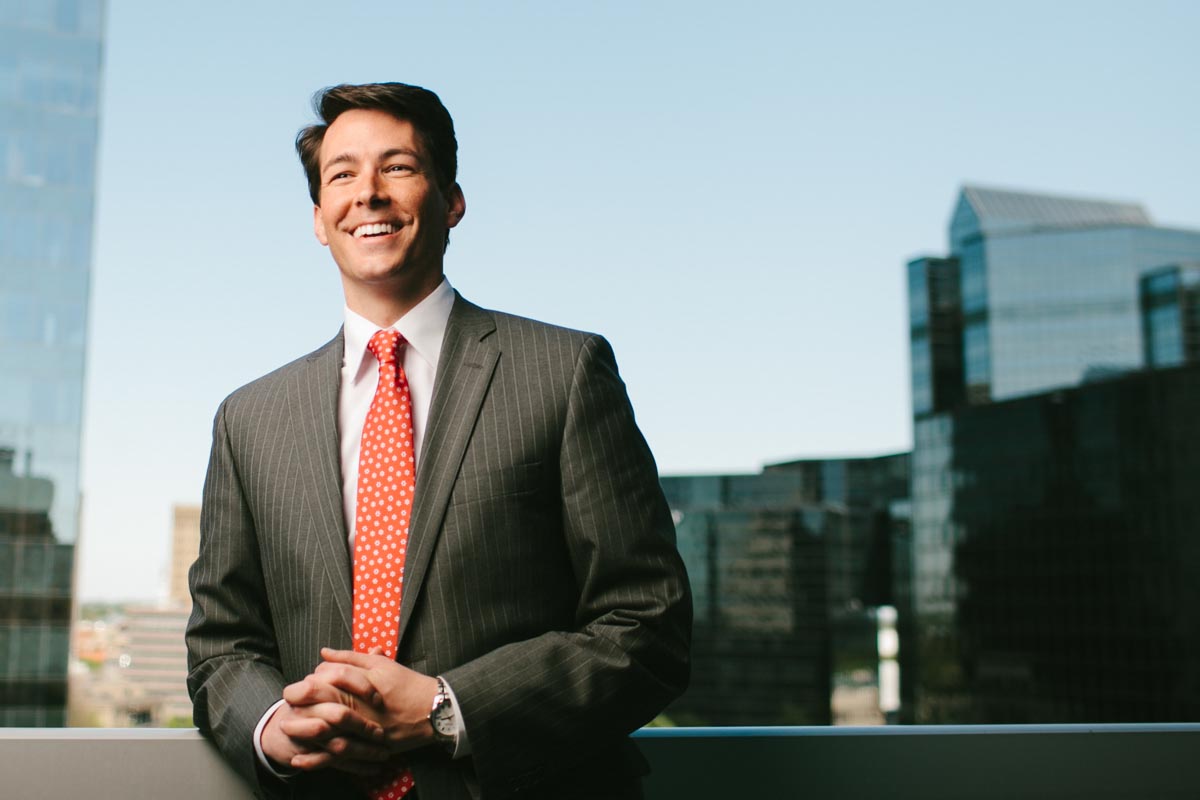
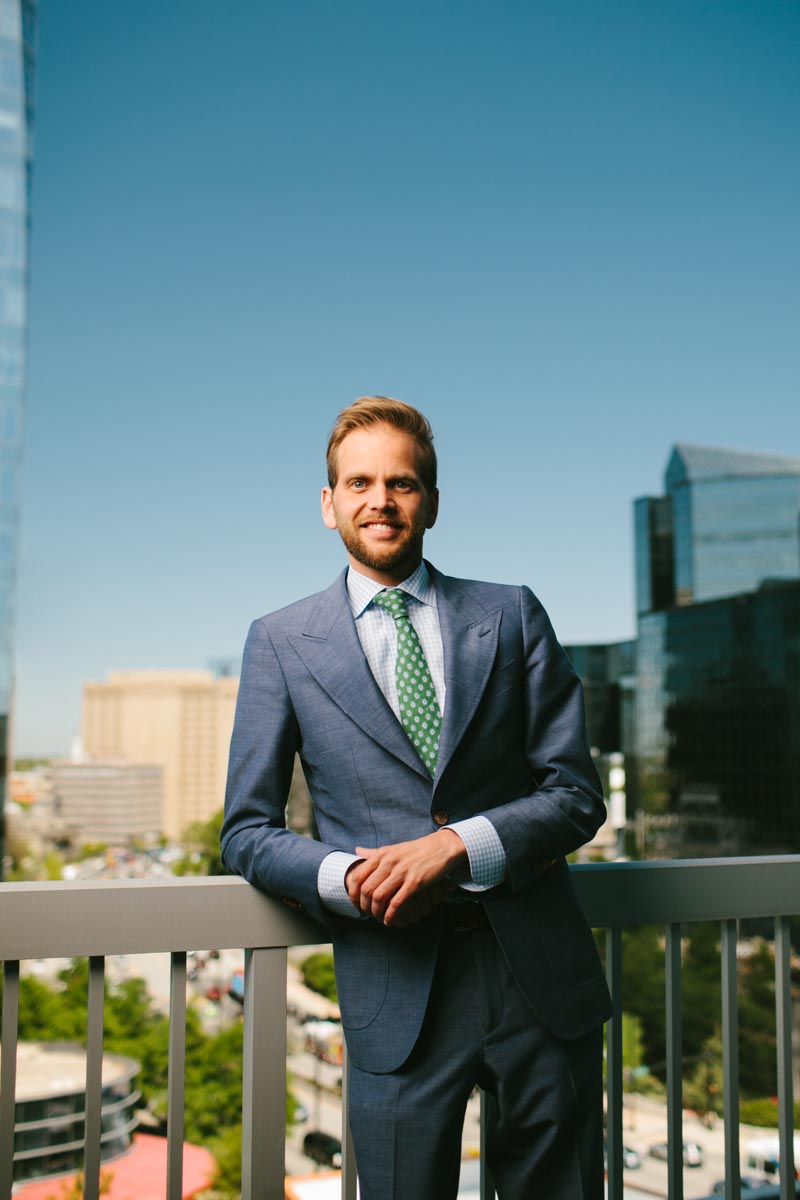
Here was our final shot!
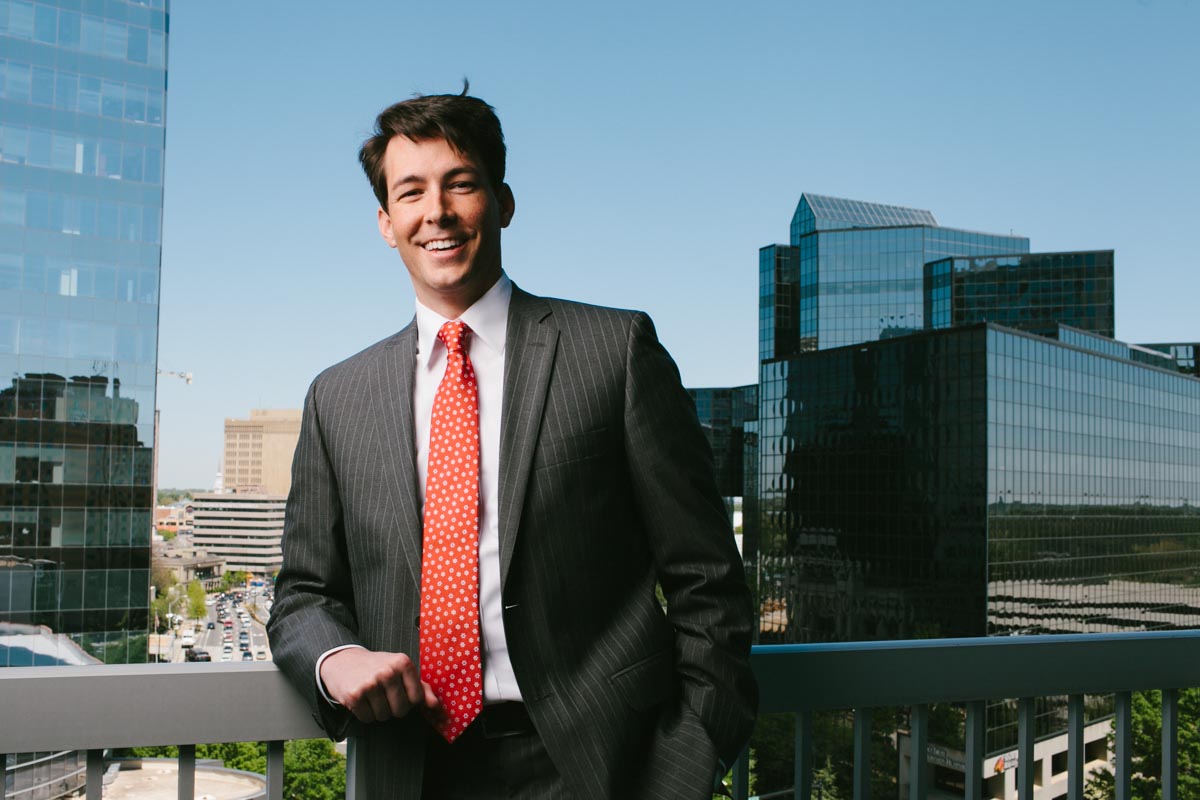
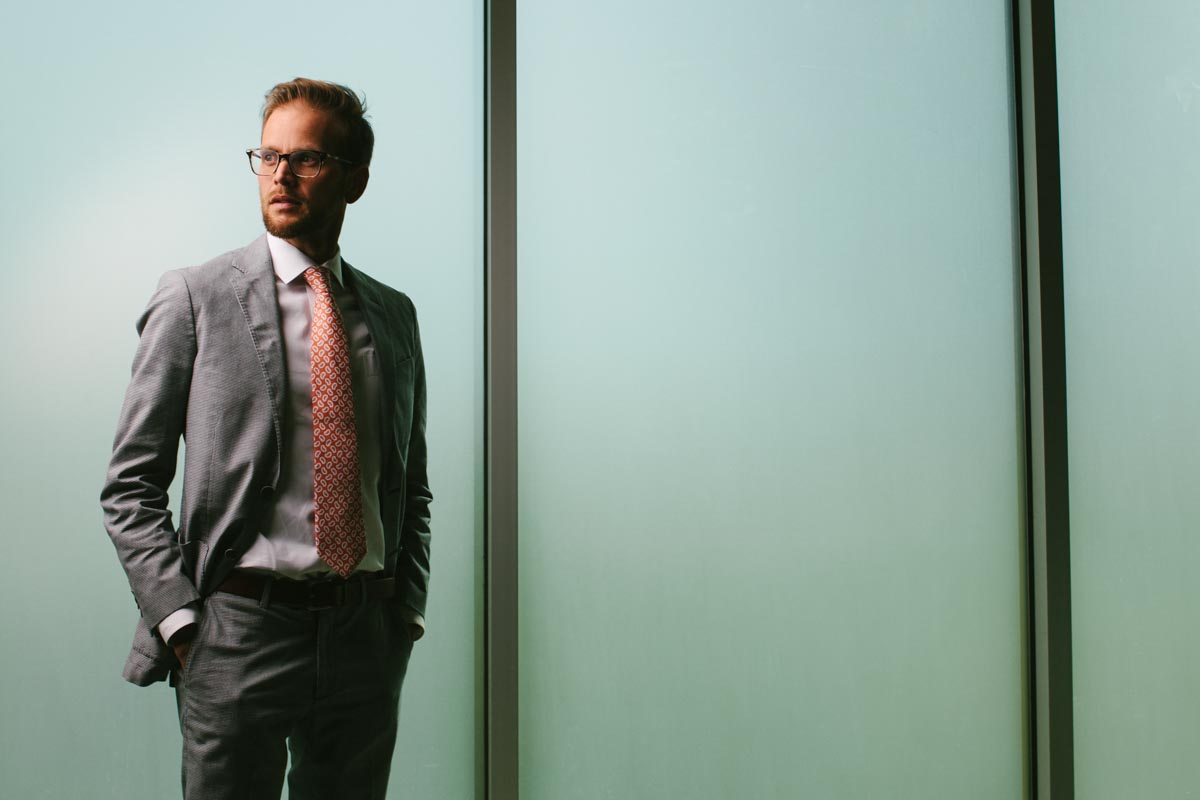
We continued to shoot for a little while longer with both clients at this location and then also against some frosted glass that I found in the parking garage on our way up to the condo. Here are some more of the photos from the day.
I hope that giving you a behind the scenes look at my process helps you understand how I accomplished the shot. Feel free to reach out if you ever have any questions!
